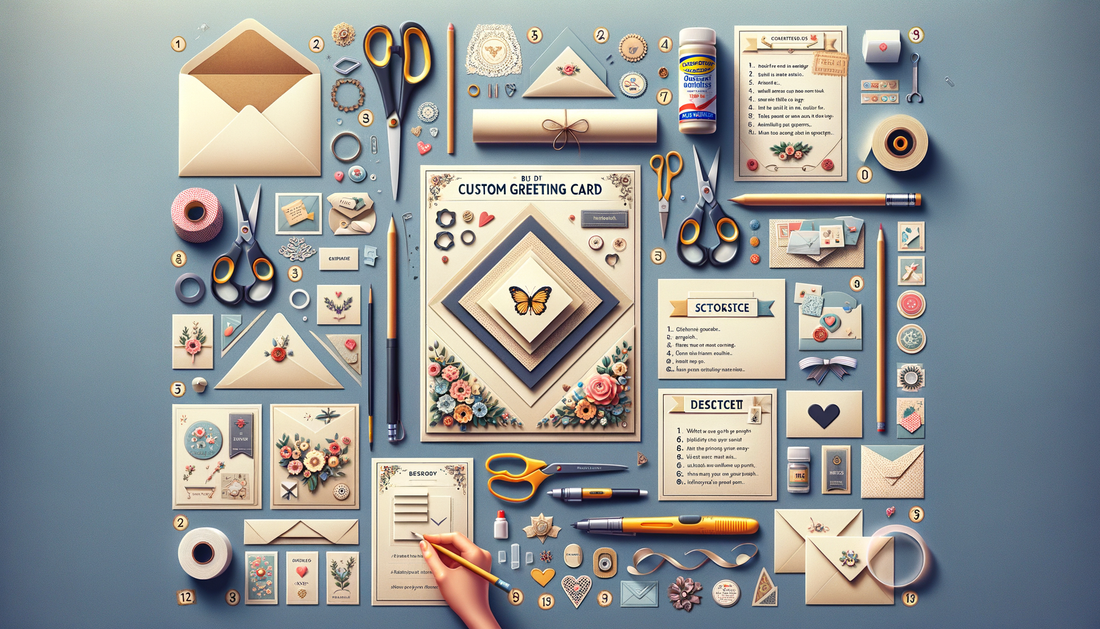
Creating Custom Greeting Cards: A Step-by-Step Guide
Tony Torres
DIY Custom Greeting Cards: Your Ultimate Guide to Personalized Messages
Welcome to the creative world of DIY custom greeting cards! Whether you're a crafting novice or a seasoned pro, this step-by-step guide will walk you through the process of creating personalized cards that are sure to impress. From selecting the right materials to adding the finishing touches, we've got you covered. So, let's get started and unleash your creativity!
Materials You'll Need to Start
Before diving into the crafting process, ensure you have all the necessary materials. Here's a quick list to get you started:
- Cardstock or high-quality paper
- Envelopes
- Scissors or a paper cutter
- Glue or double-sided tape
- Decorative elements (stickers, ribbons, etc.)
- Markers, pens, or paint
Creating Your Custom Greeting Card
Step 1: Choosing a Design
Start by deciding on a theme or design for your card. Whether it's for a birthday, holiday, or just because, your design should reflect the occasion and your personal style. Use inspiration from online resources or come up with an original concept.
Step 2: Preparing Your Materials
Cut your cardstock to the desired size and fold it neatly. If you're using decorative paper, now is the time to attach it to the front of your card. Ensure all pieces are cut precisely and aligned correctly for a professional look.
Step 3: Adding Text
Using your chosen writing tools, carefully craft your message inside the card. For an extra personal touch, consider handwriting your greeting or using calligraphy. Make sure the ink is dry before moving on to avoid smudging.
Step 4: Embellishing Your Card
Now for the fun part—embellishments! Add stickers, draw designs, or attach ribbons to enhance your card's visual appeal. Remember, less is often more, so don't overdo it. Each element should complement the overall design.
Step 5: Final Touches
Review your card for any missing details and make any necessary adjustments. Once you're satisfied, place the card in an envelope and it's ready to be delivered to your loved one.
Tips and Tricks for a Perfect Custom Card
Here are some additional tips to ensure your custom greeting card stands out:
- Use high-quality materials for a lasting impression.
- Experiment with different textures and layers.
- Personalize with photos or hand-drawn illustrations.
- Keep your design aligned with the recipient's tastes and preferences.
Wrapping Up Your Custom Greeting Card Project
Creating custom greeting cards is not only a thoughtful gesture but also an enjoyable activity. With these steps and tips, you're well on your way to crafting beautiful, personalized messages for any occasion. Remember, the key is to have fun and let your creativity shine!
Feeling inspired? Share your custom greeting card creations with us in the comments below or on social media. And don't forget to subscribe to our newsletter for more DIY tips and tricks!
