DIY Wedding Invitations: Designing Your Dream Invites
Tony Torres
Share
DIY Wedding Invitations: Crafting Personalized and Memorable Designs
Welcome to the world of DIY wedding invitations, where your creativity can shine and your personality can be infused into every detail of your special day. Designing your own wedding invitations is not only a way to save money but also an opportunity to create something truly unique and personal. In this comprehensive guide, we'll walk you through the process of designing your dream invites, from choosing the right materials to adding those perfect finishing touches.
Step 1: Selecting the Perfect Materials
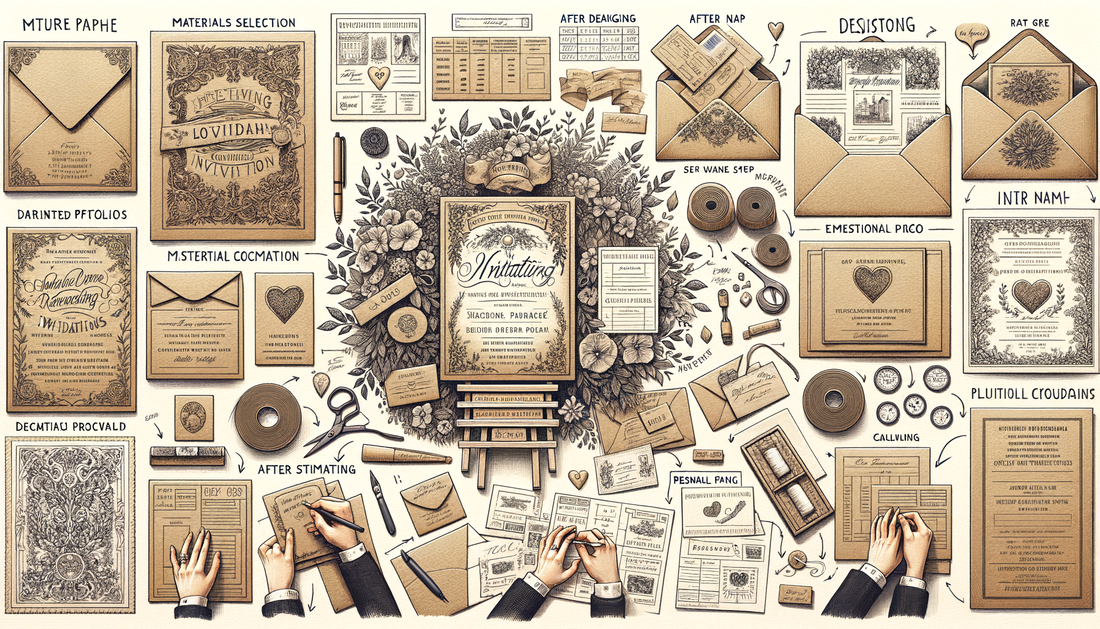
Before you dive into the design, it's important to select the right materials for your wedding invitations. Consider the theme of your wedding, your color scheme, and the level of formality. From rustic kraft paper to elegant linen cardstock, the choices are endless. Don't forget to think about the type of printing you'll use, as this can influence the paper choice as well.
Step 2: Designing Your Invites with Style
Designing your invites is where the fun really begins. Whether you're using a template or starting from scratch, make sure your design reflects the overall vibe of your wedding. Incorporate elements like monograms, motifs, or illustrations that have significance to you and your partner. Remember to include all the essential information: your names, the date, time, and location of the ceremony, and any other details guests will need to know.
Personal Touches That Make a Difference
Personal touches can make your DIY invites stand out. Consider adding a hand-drawn map, a timeline of your love story, or a personal note. These details will not only impress your guests but also make your invitations keepsakes to cherish for years to come.
Step 3: Printing and Assembling Your Invitations
Once your design is complete, it's time to print and assemble your invitations. If you're printing at home, make sure your printer is up to the task and do a few test runs. For a professional touch, consider using a local print shop. Assembling your invites might involve folding, cutting, and adding embellishments like ribbons or seals. Take your time with this step to ensure a polished final product.
Step 4: Mailing Your Wedding Invitations
The final step in the process is to mail your invitations. Make sure to weigh a fully assembled invite to determine the correct postage. Consider using custom stamps or hand-canceling for an extra special touch. And don't forget to send them out with plenty of time for your guests to RSVP!
Designing DIY wedding invitations is a rewarding experience that adds a personal touch to your special day. With a little planning and creativity, you can create invites that are as unique and memorable as your wedding will be. So gather your inspiration, roll up your sleeves, and start crafting the invitations of your dreams!
Ready to start designing your own wedding invitations? Share your ideas with us in the comments below, or reach out for more inspiration and tips. And don't forget to subscribe to our newsletter for the latest in DIY wedding trends and ideas!
